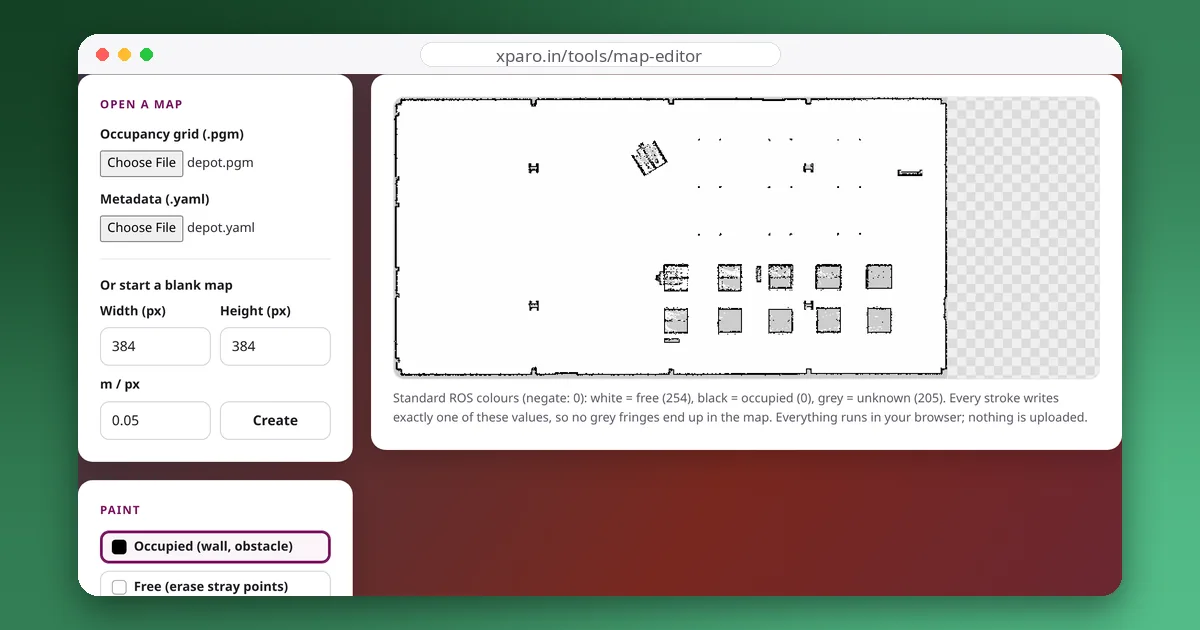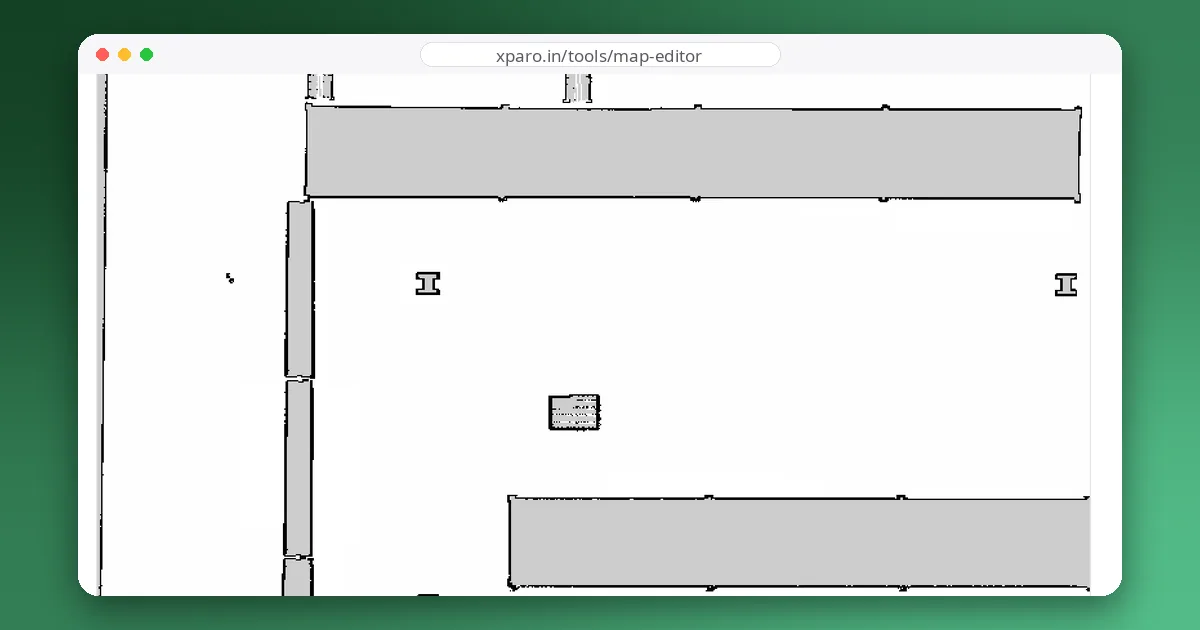
A map straight out of SLAM is a record of everything the laser saw while you drove around: the walls, but also the people who walked past, the cart that has since moved, and the street outside the glass door. Navigation and localisation both work better on a map that shows only what is permanently there. This guide is a practical workflow for cleaning a map without damaging the parts the robot relies on.
Start with the best raw map you can get
Editing fixes small problems, not a bad map. Before you open an editor:
- Map when the space is quiet. Fewer people means fewer ghost obstacles.
- Drive slowly and smoothly, especially when turning, and revisit the start point so the SLAM system can close the loop. Our guide to mapping with slam_toolbox covers this in detail.
- Check the map against reality before saving: straight corridors should be straight and rooms should not overlap.
Save the result with map_saver_cli and keep that original pair of files untouched. Edit a copy.
What to remove
Ghost obstacles from moving things
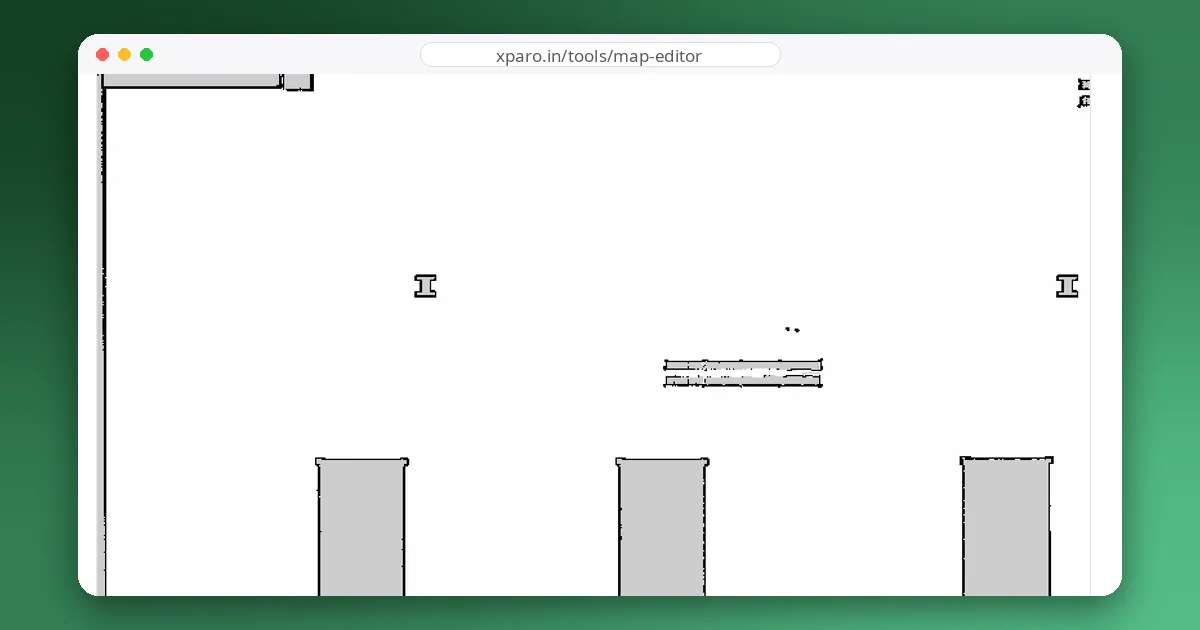
People, doors that were open during mapping, and carts or chairs that move every day leave black blobs and streaks in open space. They make the planner route around obstacles that no longer exist and can confuse localisation when the robot sees open floor where the map shows something solid. Paint them free.
Speckle noise
Single black or grey pixels scattered in open areas come from sensor noise and reflections. Each one becomes an inflated obstacle in the costmap, so a handful of specks can block a doorway for planning purposes. Erase them.
Rays through windows and glass
Lasers pass through glass, so the map may contain a fan of free space and stray obstacles outside the building, or a wall with a gap where a glass door is. Erase what lies outside, and paint the glass wall itself as occupied so the robot never plans through it. Mirrors cause the opposite problem: a phantom room reflected behind the mirror. Erase the phantom and draw the wall.
What to add
Hazards the laser cannot see
A 2D laser scans a single horizontal plane. It does not see stairs going down, a loading-dock edge, low glass tables, or overhanging shelves below or above its height. These are the places where robots fall or collide, so mark them as occupied, or better, as keep-out zones (below).
Closed gaps
Where the robot must never pass through a gap (an emergency exit, a door to a room it must not enter), draw a line across it. A thin line is enough on the static map; the costmap's inflation layer adds the safety margin around it.
What to leave alone
It is tempting to tidy a map until it looks like an architect's plan. Resist it.
- Keep permanent clutter. Shelves, pillars, desks and machines that stay put give the localiser (AMCL or slam_toolbox in localisation mode) features to match laser scans against. A map of bare walls in a long corridor is a map the robot gets lost in.
- Keep unknown space unknown. Grey areas outside the walls are not a problem. If you paint them white, a planner allowed to use only free space may find routes through places the robot has never seen. Also check that the YAML's
free_threshis 0.196 or lower, or the map server will read grey as free anyway, as explained in our guide to ROS map files. - Do not move or resize the map. Changing the image size, resolution or origin shifts everything in the world frame. Saved waypoints, docking stations and zones then point to the wrong places.
The editing workflow
- Open the
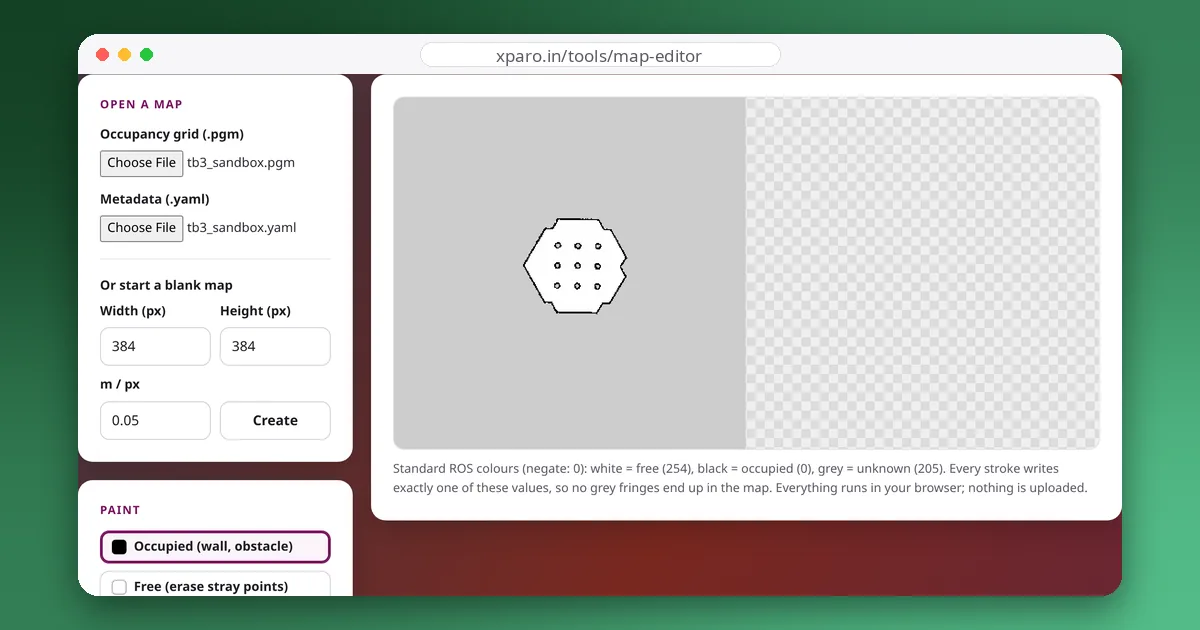
.pgmand.yamlin the ROS Map Editor and zoom in. - Use the Free brush to erase ghosts, speckles and the area outside windows.
- Use the Occupied brush to close glass walls and doorways that must stay shut.
- Use the keep-out rectangle for stairs, drop-offs and other no-go areas.
- Check the metadata panel: the editor tells you how your thresholds will read each colour.
- Download both files and test them before replacing the originals.
The editor paints only the exact values 0, 205 and 254. An ordinary image editor's soft brush adds in-between greys at the edge of every stroke, which the map server reads as obstacles or unknown cells, so a cleaned area ends up with a ring of speckles around it.
Test before you trust it
- Localisation: start the robot at a few known positions, set the initial pose, and drive around. The laser scan should stay lined up with the map walls. If localisation got worse after editing, you probably erased features it was using.
- Planning: send goals through every doorway and corridor that matters. Paths should go where you expect and nowhere you blocked.
- Costmaps: view the global costmap in RViz. Remaining specks show up as inflated blobs and are easy to spot.
When a mask is better than an edit
Painting an area occupied is permanent and absolute. If a rule only applies sometimes (a keep-out zone during opening hours) or you want the robot to slow down rather than stop (a narrow aisle), keep the map honest and put the rule in a separate mask image loaded through Nav2's costmap filters. Our guide to keep-out zones and speed limits shows how.