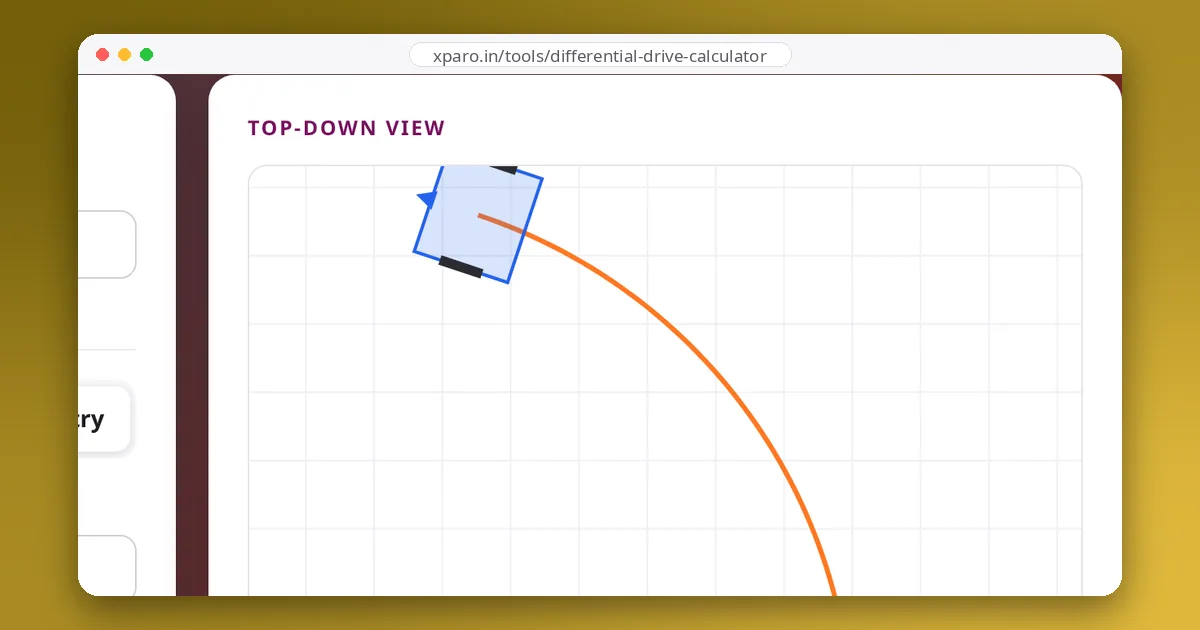
A differential-drive robot's odometry depends on two numbers: the wheel radius and the wheel separation. The values on the drawing are never quite the values the robot behaves with, because tyres compress, contact patches have width and wheels are never perfectly equal. Two simple tests, a tape measure and a little arithmetic fix most of the error. This guide walks through them with worked numbers.
Why the nominal values are wrong
- Effective radius: a tyre under load is flattened at the bottom, so it rolls as if it were smaller than its nominal diameter, and wear shrinks it further.
- Effective separation: wide or soft tyres don't touch the floor at a single line; the robot turns as if the wheels were further apart, especially on grippy floors. Skid-steer robots can behave as if their track were half as wide again.
- Unequal wheels: two wheels from the same batch can differ by a fraction of a millimetre, enough to make the robot curve on a long straight.
Calibration measures the effective values. Do it on the floor the robot normally drives on, with its normal payload.
Test 1: wheel radius from a straight run
- Mark a start line and place the robot on it.
- Drive straight, slowly, until odometry reports a long distance, say 5.000 m. A longer run gives a more accurate result.
- Measure the real distance with a tape. Say it is 4.880 m.
The robot travelled less than odometry thought, so its wheels are effectively smaller. Repeat the run three times and average.
Test 2: wheel separation from spinning on the spot
- Put a strip of tape on the floor along the robot's heading.
- Command a slow rotation in place and stop when odometry reports exactly 10 full turns (3600°).
- Measure how far the robot actually turned. Say it ended 25° short of the tape: 3575° in total.
The robot turned less than odometry thought, which means it behaves as if its wheels were further apart. Spinning several times multiplies a small error into something you can measure. Calibrate the radius first, because the rotation test depends on it.
Test 3: unequal wheel sizes
Drive a long straight line and watch for drift. If the robot curves consistently to one side, the wheel on that side is effectively smaller. From the sideways drift e over a distance D, the curve's radius and the wheel diameter ratio are approximately:
A robot with 160 mm separation that drifts 10 cm sideways over 5 m is following a 125 m curve, which means its wheels differ by only about 0.13 %. Small differences matter: correct them by scaling one wheel's radius by that ratio.
Test 4: the square test (UMBmark)
For a thorough check, use the procedure from Borenstein and Feng's UMBmark benchmark: drive a square (for example 4 m × 4 m) five times clockwise and five times counter-clockwise, returning to the start, and measure where the robot actually stops each time compared with where odometry thinks it is. The two directions separate the error types: a wrong effective separation makes the robot over- or under-turn in both directions, while unequal wheel diameters make it over-turn in one direction and under-turn in the other. The pattern of end positions tells you which correction to apply, and repeating the test after correcting shows the improvement.
Applying the corrections
With ros2_control's diff_drive_controller, keep the measured values in wheel_radius and wheel_separation and apply corrections with the multiplier parameters, so the original measurements stay visible in the configuration:
diff_drive_controller:
  ros__parameters:
    wheel_radius: 0.033
    wheel_separation: 0.160
    left_wheel_radius_multiplier: 0.976      # from test 1 (and test 3, per wheel)
    right_wheel_radius_multiplier: 0.976
    wheel_separation_multiplier: 1.007       # from test 2
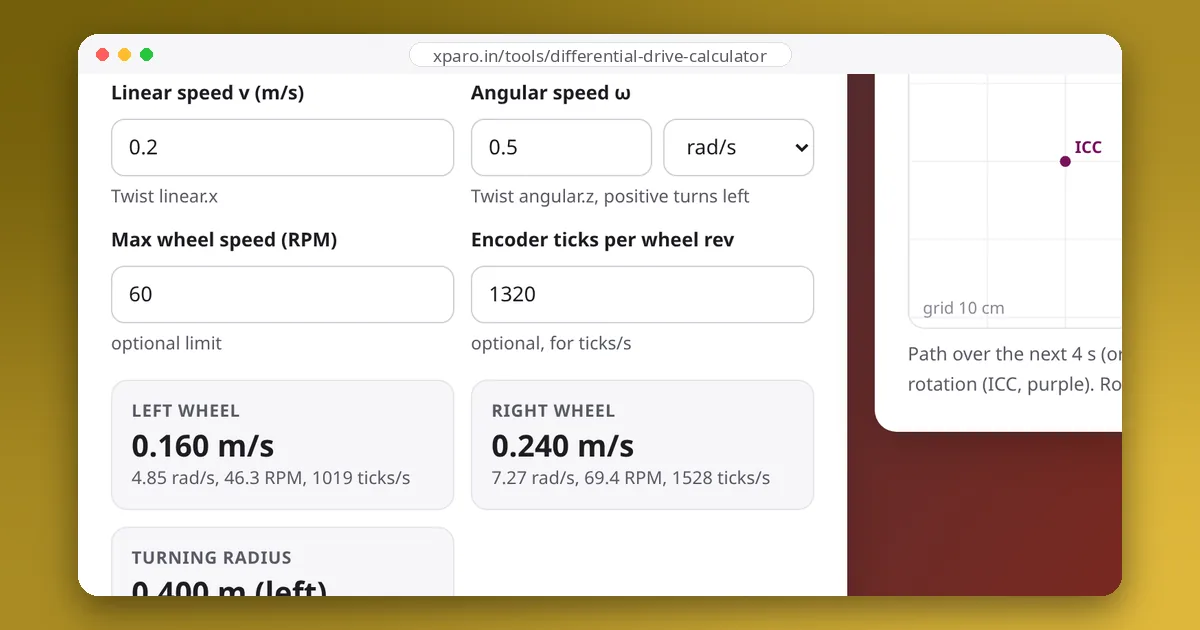
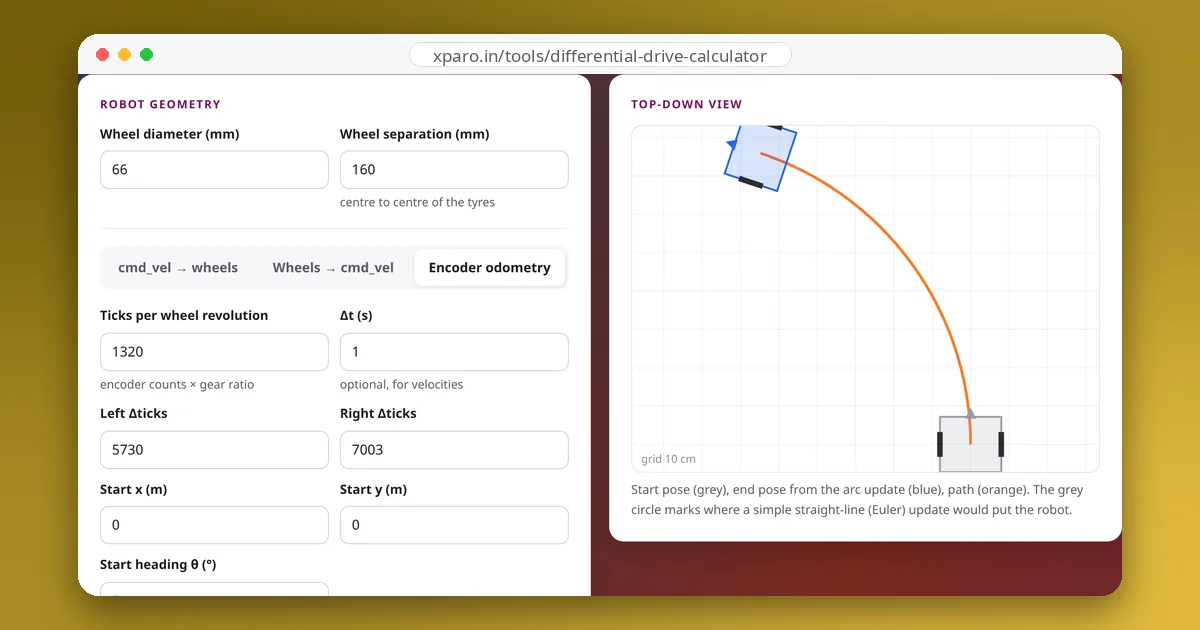
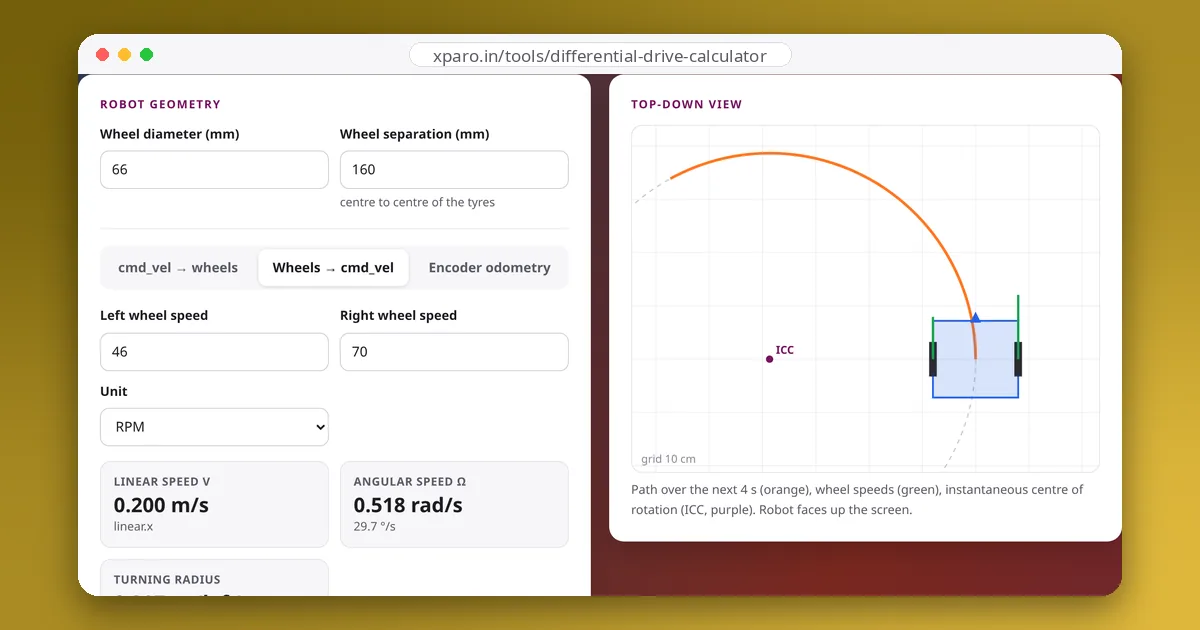
In your own odometry code, simply use the corrected values. Then enter them into the Differential Drive Calculator to check that commanded speeds and odometry updates come out as expected.
Good practice
- Drive slowly during calibration so wheels don't slip; you are measuring geometry, not traction.
- Calibrate on the real floor with the real payload, and recheck when tyres are replaced or worn.
- Recalibrate after mechanical changes: new wheels, new motors, a shifted battery.
- Remember what calibration cannot fix: slip and bumps remain, so fuse a gyro and use map-based localisation for long distances, as explained in wheel odometry from encoder ticks.