A pack labelled "5000 mAh 50C" sounds like it can deliver 250 amps. Whether your robot can actually use that, and what happens to the voltage when it tries, depends on things the label leaves out. This guide explains C-ratings, internal resistance and voltage sag, and how to choose a pack that will not brown out your robot at the worst moment.
What "C" means
The C-rate expresses current relative to capacity. A current of 1C would empty a full pack in one hour; 2C in half an hour; 0.5C in two hours. To turn a C-rating into amps, multiply by the capacity in amp-hours:
Pack labels usually give a continuous rating and sometimes a higher burst rating for a few seconds. Charge ratings are separate and much lower: most lithium packs should be charged at 1C or less unless the maker says otherwise.
Hobby LiPo C-ratings are marketing numbers as much as engineering ones. Independent tests often find that packs reach their labelled continuous rating only with a large voltage drop and a lot of heat. Treat the label as an upper limit and design with margin.
Internal resistance: the number that really matters
Every cell behaves like an ideal voltage source with a small resistance in series. When current flows, that resistance drops some voltage inside the pack and turns it into heat:
Two worked examples show the scale of the effect:
| Pack | Cell resistance | Pack resistance | At 10 A | At 40 A |
|---|---|---|---|---|
| 4S 5000 mAh LiPo (good pack) | 5 mΩ | 20 mΩ | 0.2 V sag, 2 W heat | 0.8 V sag, 32 W heat |
| 7S2P pack of energy-type 18650 cells | 30 mΩ | 105 mΩ | 1.05 V sag, 10.5 W heat | 4.2 V sag, 168 W heat |
The LiPo shrugs off 40 A. The 18650 pack, built from cells optimised for energy rather than power, loses over 4 V and heats itself fiercely at the same current. That is why the chemistry and cell choice matter as much as the capacity, as our chemistry comparison explains. Internal resistance also rises as a pack gets cold, ages or approaches empty, so the worst case is a worn pack, on a cold morning, near the end of a run.
How voltage sag hurts a robot
Brownouts
A brownout happens when a short dip in battery voltage drops below what a regulator needs to keep its output steady. The usual victim is the computer. Consider a small robot on a 2S LiPo (7.4 V nominal) feeding a 5 V buck converter that needs at least 6.5 V in. Near empty, the pack rests at about 7.0 V. If the pack and its wiring add up to 60 mΩ and both motors start together, drawing 10 A, the voltage dips by 0.6 V to 6.4 V. The converter drops out, and the computer resets in the middle of a mission. Nothing is broken, which makes it maddening to debug.
Early low-voltage cut-off
A BMS or motor controller with a low-voltage cut-off measures the voltage under load. Heavy sag trips it while the pack still holds plenty of energy, so the runtime is shorter than the capacity suggests.
Lost performance
A DC motor's speed is roughly proportional to its supply voltage. A pack that sags by 10 percent under load makes the robot about 10 percent slower exactly when it needs power most, on a ramp or while accelerating.
Choosing a pack that is up to the job
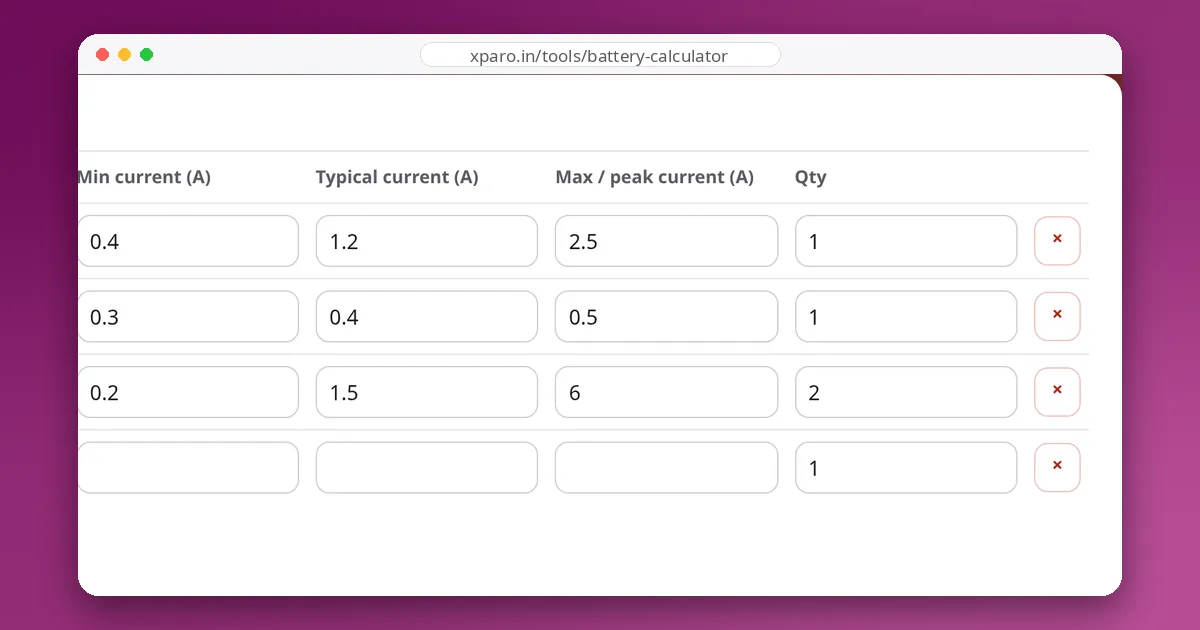
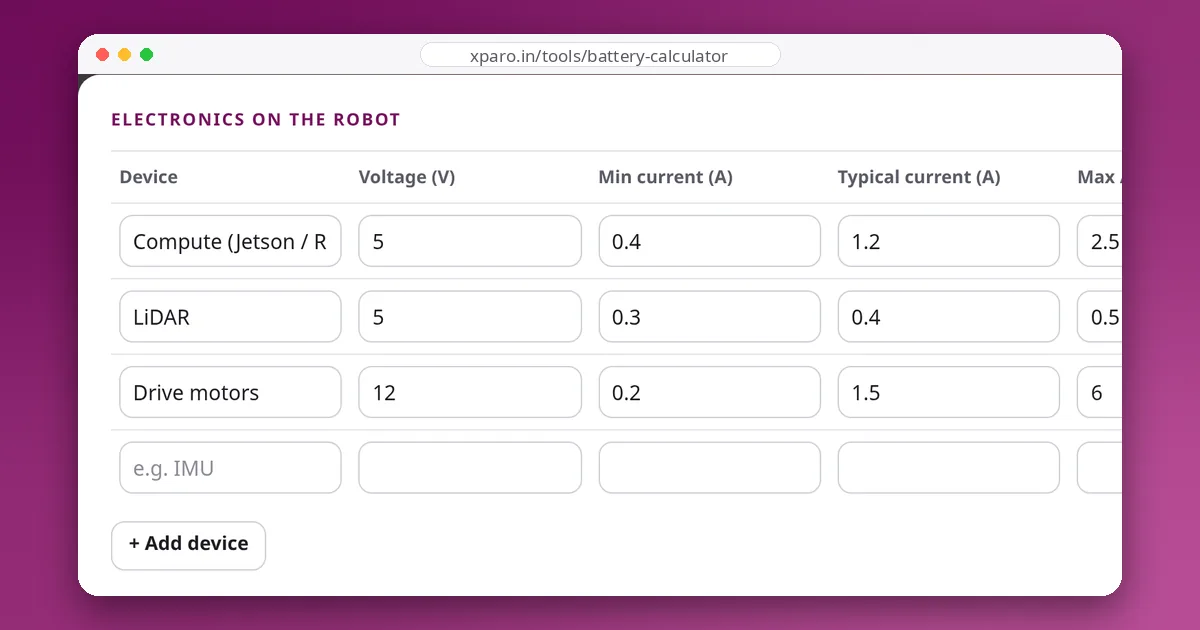
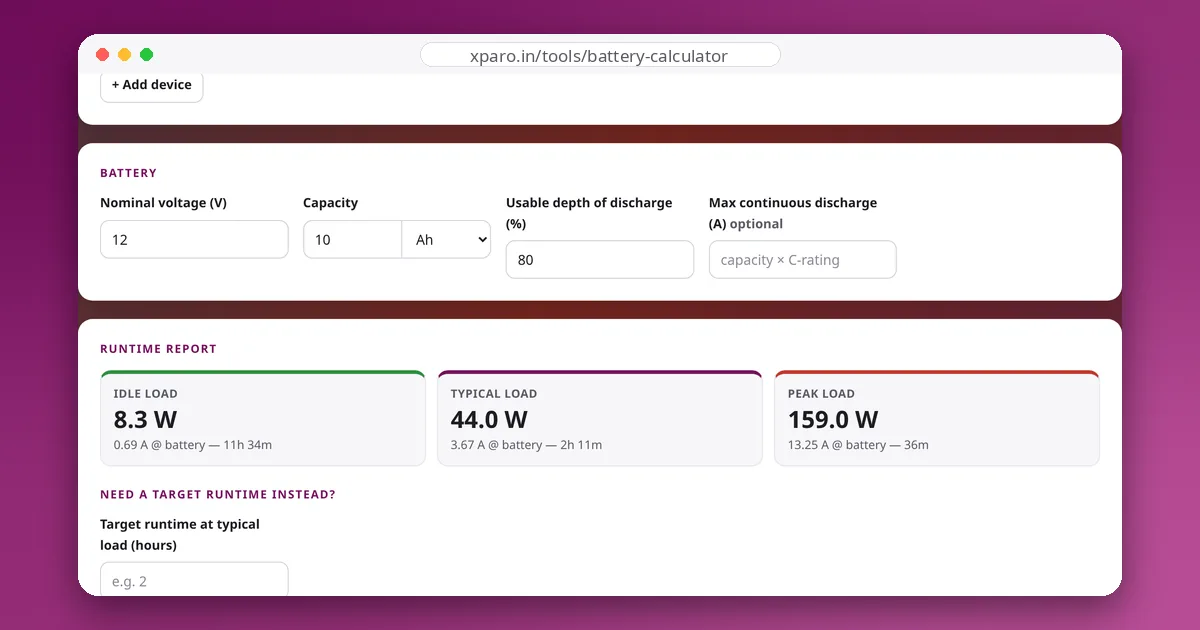
- Find your peak current. Use the peak row of the Battery Backup Calculator, or better, measure it while the robot starts and climbs. Note how long the peak lasts.
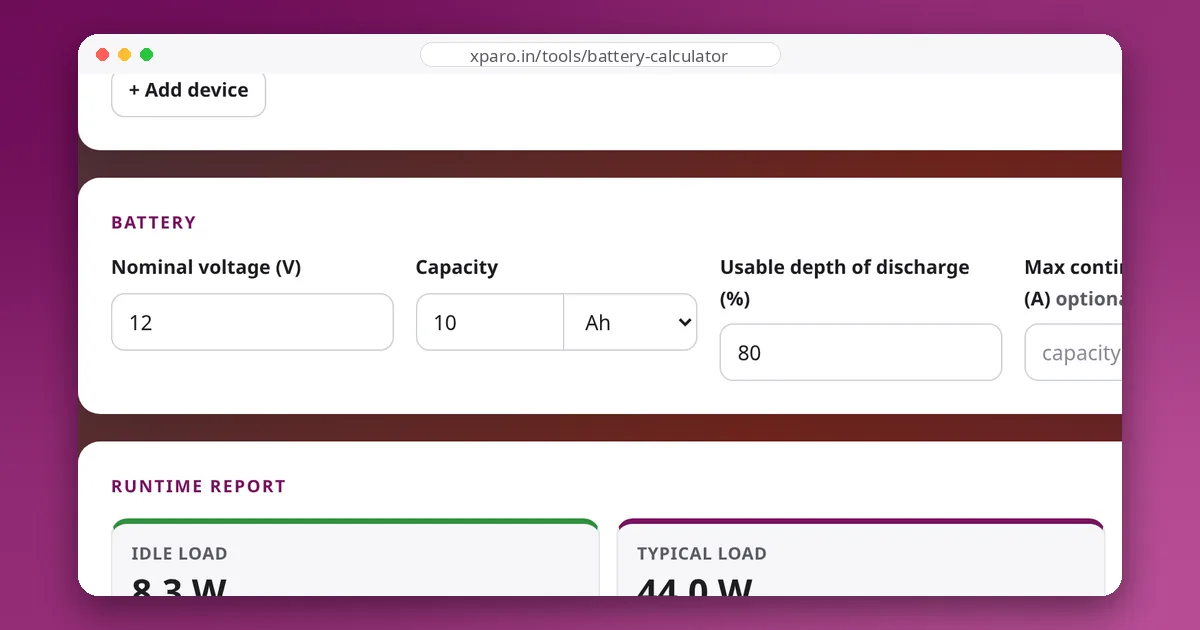
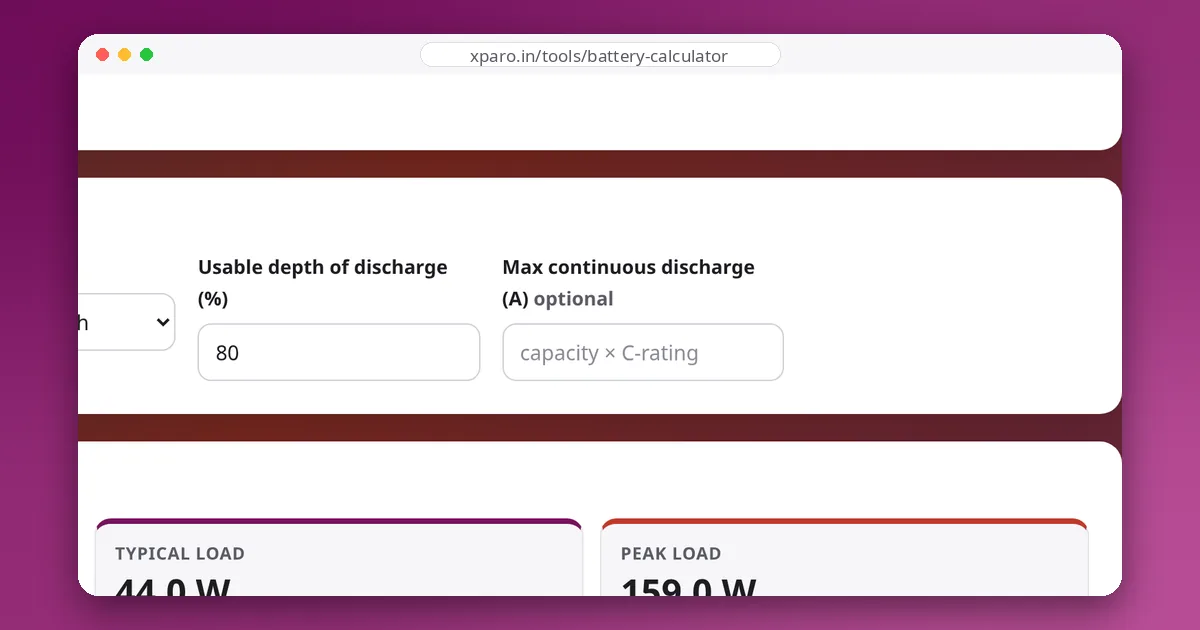
- Check the pack's continuous rating with margin. Aim for a continuous rating of at least 1.5 to 2 times your sustained peak. Enter the rated current in the calculator's "max continuous discharge" field and it warns you if the peak load is too high.
- Check the BMS, not just the cells. On packs with a BMS, the protection board often limits current long before the cells would. Its continuous and peak limits are the real limits of the pack.
- Estimate the sag. Multiply your peak current by the pack resistance (from the datasheet or a measurement) and add the resistance of wires, connectors, fuse and switch. Check the result against the minimum input voltage of every regulator and motor driver.
- Fix sag at the source if needed. Use more cells in parallel, a lower-resistance cell type, thicker wires, or a higher pack voltage (the same power needs less current). Limiting motor acceleration in software also cuts peaks, as described in our guide to velocity and acceleration limits.
Measuring internal resistance yourself
You do not need a special meter to get a useful figure. With a fully charged pack and a known load:
- Measure the voltage with a small load, V1, at current I1.
- Switch to a heavy load and measure V2 at current I2 within a few seconds.
- Internal resistance ≈ (V1 − V2) ÷ (I2 − I1).
For example, 16.40 V at 2 A and 16.02 V at 20 A gives (16.40 − 16.02) ÷ 18 ≈ 21 mΩ for the pack and its leads. Record the figure when the pack is new; when it has roughly doubled, the pack is near the end of its useful life.
Keeping the computer alive
If you can't avoid big motor peaks, decouple the electronics from them:
- Power the computer from a buck-boost converter that keeps working when the input dips below the output voltage.
- Add bulk capacitance near the motor drivers so they draw short spikes from the capacitors rather than through the wiring.
- Run the motor and logic wiring back to the battery separately, so motor current does not flow through the computer's ground and supply leads.
- On larger robots, use a separate small battery for the electronics.
Summary
A C-rating tells you the most current a pack is meant to deliver, not how well it delivers it. Internal resistance tells you what that current costs in voltage and heat. Size the pack for your measured peaks with margin, check the BMS limit, estimate the sag against your regulators' minimum input, and your robot will not reset itself on the first ramp.