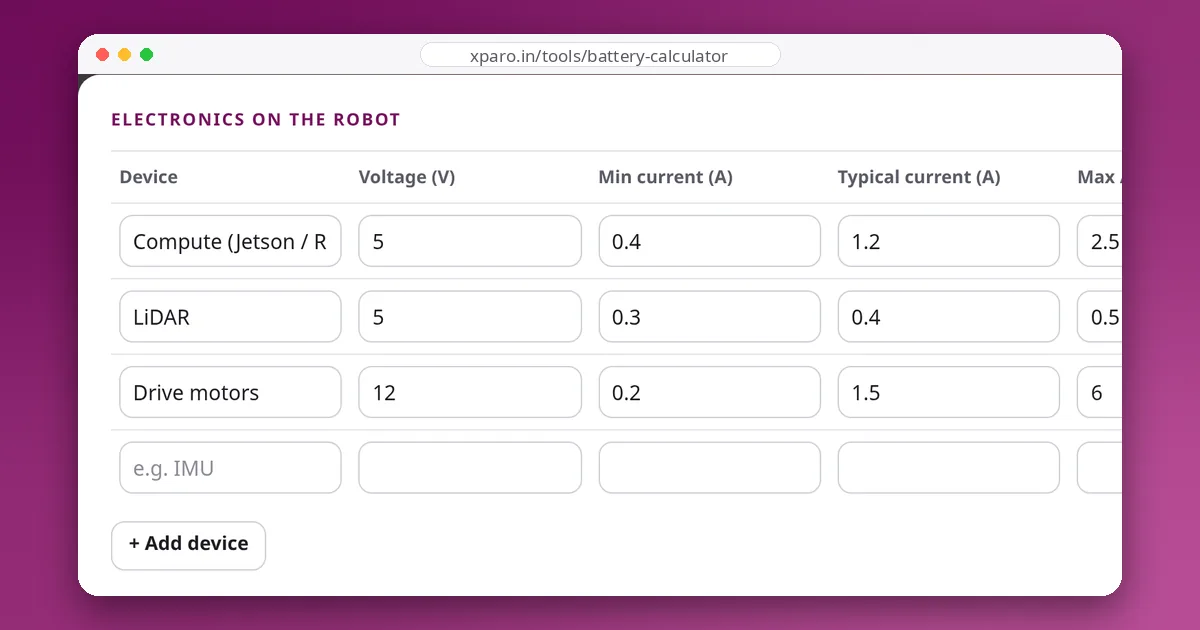
Datasheet currents are a starting point, not an answer. A motor's real draw depends on your floor, your payload and your driving; a computer's depends on what software is running. Measuring your robot's actual current takes an afternoon and turns every battery and power decision from a guess into a calculation.
What you want to know
For each major load, and for the whole robot, you are after three numbers and one pattern:
- Idle current: powered on, sensors running, not moving.
- Typical current: doing its normal job, on the real floor, with the real payload.
- Peak current and its duration: starting from rest, turning on the spot, climbing the steepest ramp.
- The duty cycle: how the current changes over a whole mission, which is what decides runtime.
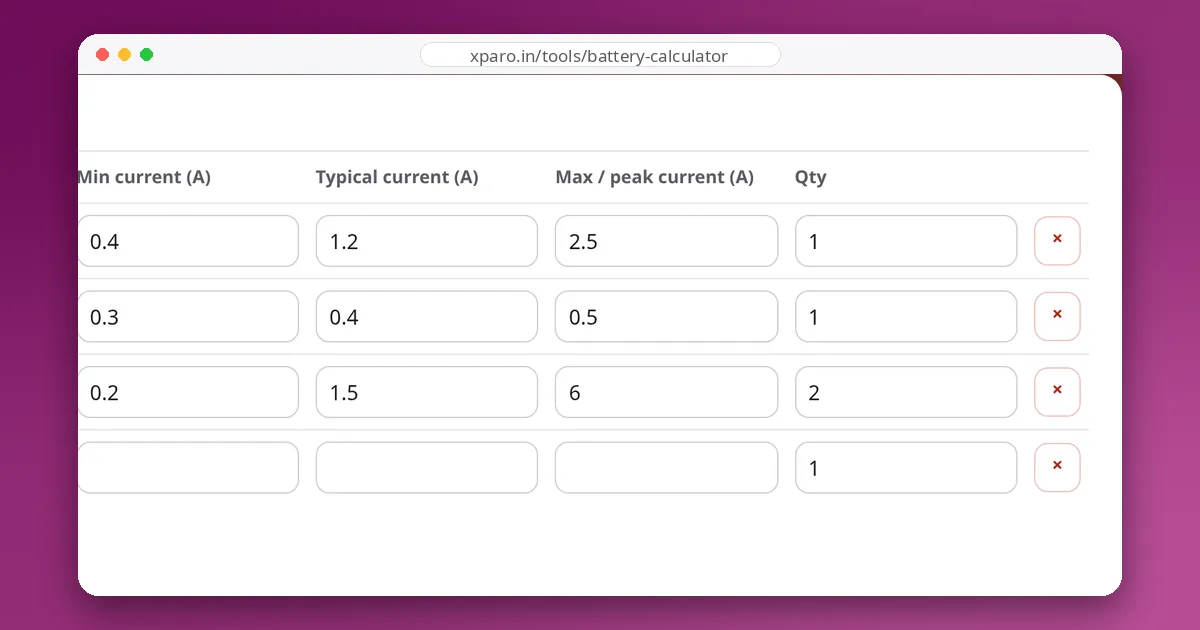
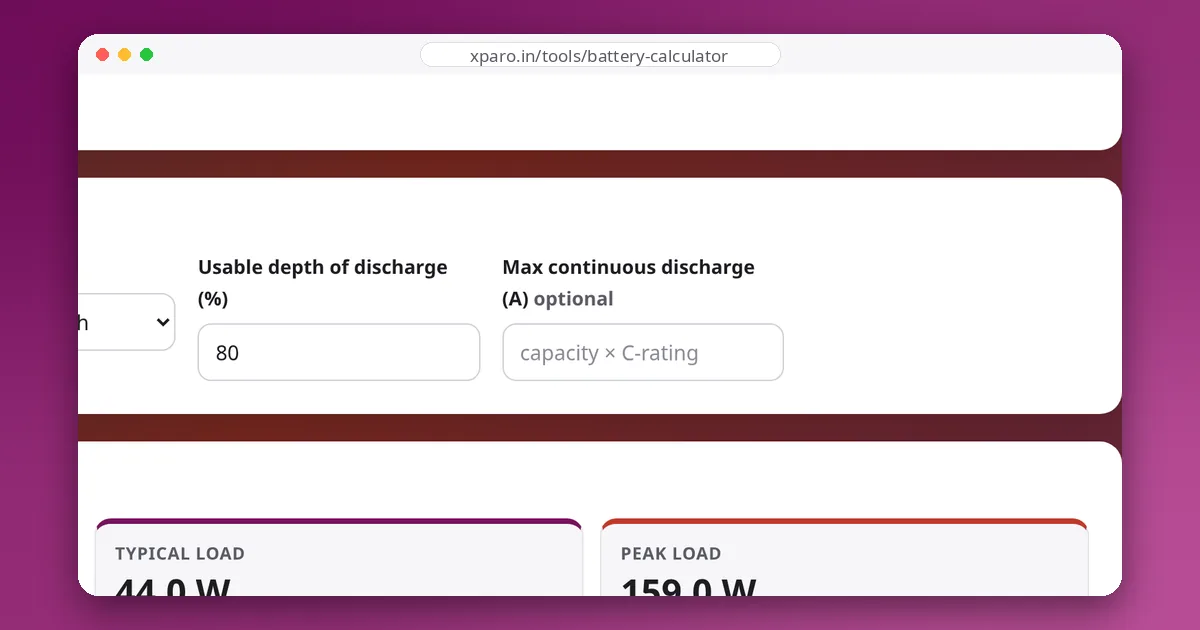
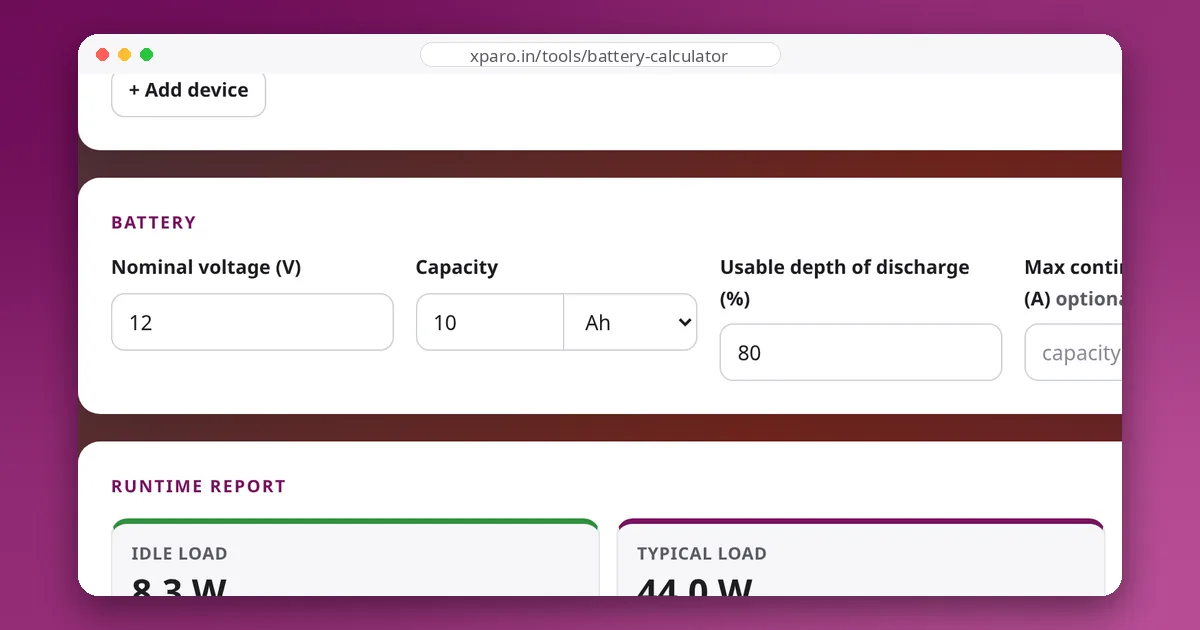
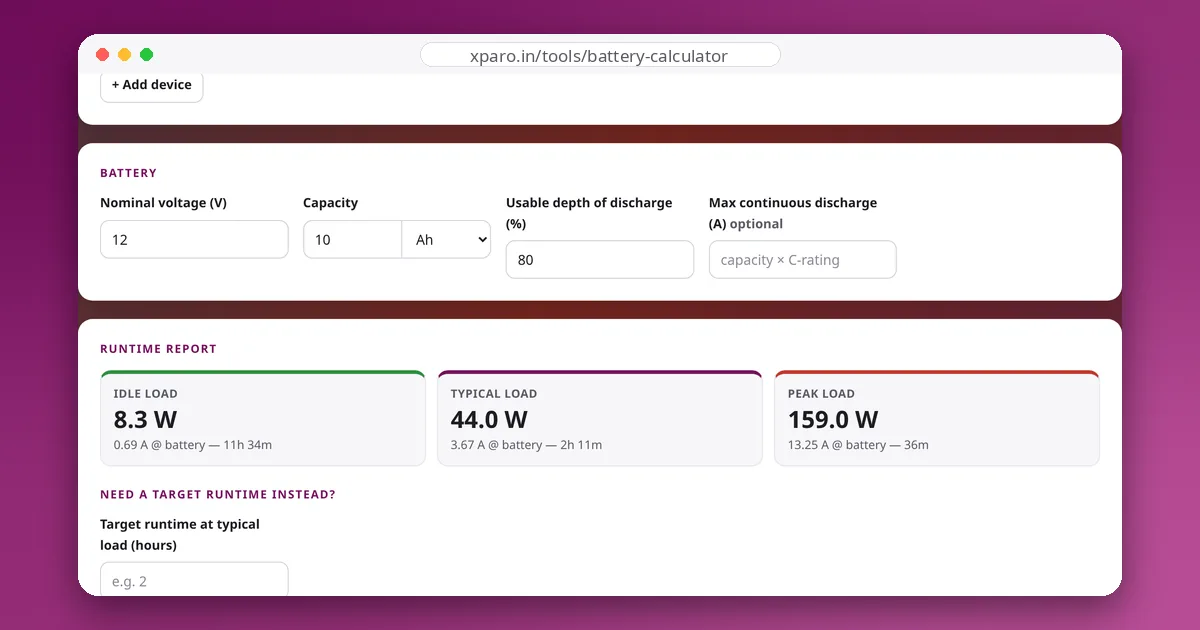
The first three go straight into the Battery Backup Calculator. The duty cycle lets you weight them, as described in our runtime guide.
Five ways to measure, from quickest to best
1. A bench power supply
Power the robot, or one subsystem, from a bench supply set to the battery voltage and read its current display. It is the quickest way to get idle and typical figures for electronics. Its limits: the supply's current limit may be below your motor peaks, and its display averages over a second or so, hiding short spikes.
2. A multimeter in series
Break the circuit and put the meter in series, on its 10 A range. Fine for steady loads such as a computer or a sensor, risky for motors: the 10 A input is fused, startup peaks blow the fuse, and the meter's own resistance (its "burden voltage") reduces the voltage reaching the load. Never measure current on the mA range of anything with a motor.
3. A DC clamp meter
A clamp meter with a Hall-effect sensor measures DC current without breaking the circuit: clamp it around one wire of the motor supply. Make sure it says DC; many cheap clamp meters only measure AC. Accuracy at low currents is modest, but it is excellent for motor currents in the amps to tens of amps.
4. A shunt resistor
A shunt is a small, precise resistor in series with the load. Measuring the voltage across it gives the current by Ohm's law. A 10 mΩ shunt carrying 10 A drops 0.1 V and dissipates 1 W, so choose its power rating accordingly (the Ohm's law calculator does the sums). Put the shunt in the positive lead (high side) where you can; a shunt in the ground lead shifts the ground of everything after it.
5. A current-sensor chip that logs over time
For robots, this is the method that pays off. Breakout boards based on the INA219 or INA226 combine a shunt and an amplifier with an I2C interface, measure both bus voltage and current, and can be read by a microcontroller or a Raspberry Pi tens of times per second. The common INA219 breakout uses a 0.1 Ω shunt and measures up to about ±3.2 A on buses up to 26 V; the INA226 accepts up to 36 V. For higher currents, use a board with a smaller shunt, or a Hall-effect sensor module, and calibrate it against a known load.
Logging current with an INA219 and a Raspberry Pi
With Adafruit's CircuitPython library (pip install adafruit-circuitpython-ina219), a minimal logger looks like this:
import time
import board
from adafruit_ina219 import INA219

sensor = INA219(board.I2C())   # default I2C address 0x40

with open("current_log.csv", "w") as log:
    log.write("time_s,bus_voltage_v,current_a\n")
    start = time.monotonic()
    while True:
        elapsed = time.monotonic() - start
        log.write(f"{elapsed:.3f},{sensor.bus_voltage:.3f},{sensor.current / 1000:.4f}\n")
        time.sleep(0.02)   # about 50 samples per second
Run it while the robot does a representative mission: drive the usual route, wait, turn, climb the ramp. Then summarise the log:
import csv
import statistics

with open("current_log.csv") as f:
    amps = sorted(float(row["current_a"]) for row in csv.DictReader(f))

print("mean", round(statistics.mean(amps), 3), "A")
print("95th percentile", amps[int(0.95 * (len(amps) - 1))], "A")
print("max", amps[-1], "A")
The mean is your typical current for runtime purposes, the 95th percentile tells you what the pack must supply comfortably, and the maximum is the peak your fuse, wiring and BMS must tolerate.
If you would rather watch the numbers live, print them from a microcontroller over USB and open the Web Serial Monitor: its plotter draws current over time as the robot moves. Our guide to plotting and logging serial data shows the format to use.
Measuring motors properly
- Measure on the battery side of the motor driver. PWM drivers switch the motor on and off thousands of times per second; the current in the motor leads is a ripple that is hard to measure, while the current from the battery is what drains it.
- Load the robot realistically. Measure with the full payload on the real floor. Carpet can double rolling resistance compared with smooth concrete.
- Capture the starts. The highest currents happen in the first fraction of a second of acceleration. Sample fast enough, at least 50 to 100 times per second, or use an oscilloscope across a shunt for the shape of the spike.
- Check stall current once, carefully. A stalled motor draws its maximum current and heats quickly. Measure it briefly (a second or two) so you can size fuses and drivers, then let it cool.
Publishing battery data in ROS 2
Once you have a sensor on the main battery lead, publish a sensor_msgs/BatteryState message so the rest of the system can use it: the dashboard, a low-battery behaviour, or a docking routine. Two details catch people out. The message's percentage field runs from 0 to 1, not 0 to 100, and its current field is negative while the battery is discharging. Fill unmeasured fields with NaN, as the message definition asks.
Turning measurements into decisions
- Put the measured idle, mean and peak currents into the calculator to get a real runtime.
- Compare the peak with the pack's continuous rating and BMS limit (see C-ratings explained).
- Size fuses and wires from the measured peaks (see our battery safety guide).
- Look for surprises. A computer drawing twice its expected power often means a runaway process; a motor drawing more each week can mean a dragging brake or a worn gearbox.